
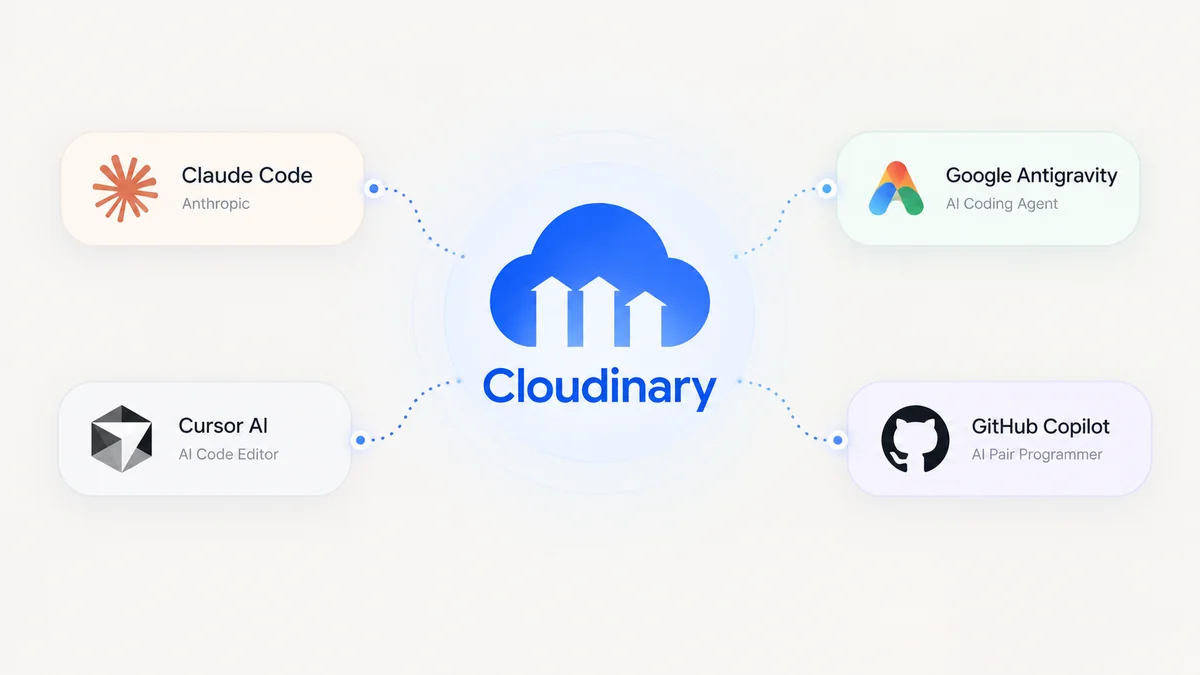
If you rely on modern AI coding assistants like Claude Code, Cursor, Google Antigravity, or GitHub Copilot for daily development, you are likely accustomed to letting AI scaffold components, write tests, and refactor features.
However, whenever you task an AI assistant with images and videos — such as: “Optimize product images, add a responsive hero banner, and build an image upload button” — you frequently encounter frustrating friction:
- The AI hallucinates dead placeholder URLs (
via.placeholder.comor random Unsplash links that promptly return 404 errors). - The AI guesses CDN URL transformation syntax, producing malformed query segments that break your layout.
- The AI asks you to read external docs, sign up manually, copy-paste API keys, and write boilerplate configuration by hand.
To solve this once and for all, Cloudinary introduced Cloudinary AI Power Start. The breakthrough is that you never need to configure anything manually: paste one single prompt into your AI coding assistant’s chat window, and the agent automatically detects your stack, installs the official SDK, configures AI tools (MCP Servers), provisions a cloud environment, and runs automated end-to-end verification.
This article provides a practical, step-by-step tutorial on integrating Cloudinary into any project using your favorite AI coding agent in under 5 minutes.
How AI Power Start Works Under the Hood
Rather than executing a fragile static script, Cloudinary engineered an onboarding flow tailored specifically for autonomous coding agents structured into 5 Guarded Stages:
graph LR
    A[1. Silent Explore<br/>Inspect project stack] --> B[2. AI Tooling<br/>Configure MCP and Skills]
    B --> C[3. SDK and Env<br/>Scaffold SDK and .env.example]
    C --> D[4. Credentials<br/>Claimable Cloud or API Keys]
D --> E[5. Verify Setup<br/>Admin API and HTTP 200 Probe]- Silent Explore: The AI inspects project manifests (
package.json,requirements.txt,astro.config.mjs…) to determine the exact framework (Next.js, Astro, React, Node/Express, Python/Django, Laravel…). - AI Tooling Installation: The AI configures native MCP Servers (
@cloudinary/asset-management,@cloudinary/environment-config) and installs the Skills Pack (cloudinary-docs,cloudinary-transformations) so the agent masters Cloudinary syntax. - SDK & Safe Environment Setup: The AI installs the official SDK package and generates a clean
.env.examplefile while ensuring.envis safely gitignored. - Flexible Credential Handshake: If you lack an account, the AI provisions an instant Claimable Cloud with no signup or credit card required. If you already have one, it safely guides you to add your credentials.
- Automated Verification Gate: The AI creates an unsigned
ai_powerstartupload preset via the Admin API, sends a real HTTP network probe to ensure asset delivery returns HTTP 200, measures optimization savings, and generates a visual HTML preview.
Step-by-Step Hands-On Tutorial
Step 1: Open Your Project in an AI-Powered IDE
Launch your codebase using whichever AI coding assistant you prefer:
- Claude Code: Open your terminal in the project directory and execute
claude. - Cursor: Open your project and trigger Cursor Composer (
Ctrl+IorCmd+I). - Google Antigravity: Open your project workspace.
- VS Code with GitHub Copilot / Cline / Roo Code: Open your assistant’s chat panel.
Step 2: Paste the “One Prompt to Get Started”
Copy the official Cloudinary prompt (available on the Cloudinary AI Power Start page) and paste it into the chat:
Get started with Cloudinary in this project:

# Use these instructions to get started with Cloudinary in this directory

Set up or validate Cloudinary in a new or existing project, including the detected-stack SDK, credentials, AI tooling, delivery validation, and next steps.

Follow this hard order whenever work remains:
1. Silent explore — then present the setup checklist
2. Stage 1: AI tooling
3. Stage 2: repo/framework check (ends with confirmation gate)
4. Stage 3: detected-stack SDK + env file setup
5. Stage 4: credentials + MCP activation (starts with D1 account check)
6. Stage 5: preset + validation artifacts + Done gate
7. After the user replies Done: What's next
The AI assistant will immediately begin by inspecting your project silently.
Step 3: Approve AI Tooling & Framework Detection
The AI will report what tooling is missing and prompt for your approval:
- Approve Stage 1: Reply
yesto authorize the AI to configure.mcp.jsonand download the Cloudinary Skills pack. - Approve Stage 2: The AI will announce the detected stack (e.g., “I detected an Astro full-stack project”). Reply
proceedto continue.
Step 4: Automated SDK Installation & Environment Setup
The AI will automatically:
- Install the official SDK via your current package manager (e.g.,
pnpm add cloudinary dotenvornpm install @cloudinary/react @cloudinary/url-gen). - Scaffold a centralized configuration helper (such as
src/lib/cloudinary.tswith comprehensive inline documentation). - Create
.env.examplewith standard Cloudinary placeholders. - Verify that
.envis listed in.gitignoreto prevent credential exposure.
Step 5: Configure Credentials or Provision a Claimable Cloud
In Stage 4, the AI will ask if you have an existing Cloudinary account. You have two convenient options:
Option A: You already have an account
Navigate to Cloudinary Console — API Keys and copy:
CLOUDINARY_CLOUD_NAMECLOUDINARY_API_KEYCLOUDINARY_API_SECRET
Open .env at your project root, paste the values in, and reply: yes, saved.
Option B: You don’t have an account — Use Claimable Cloud
Simply tell the assistant:
“Set up a Claimable Cloud for me”
The AI executes npx @cloudinary/cloud under the hood. A working cloud environment is provisioned immediately and written into .env. You receive a claim link to permanently bind the cloud to your email within 24 hours.
Step 6: Review Automated Verification (Stage 5)
Once credentials are in place, the assistant performs automated end-to-end verification:
- Calls the Admin API to register an unsigned
ai_powerstartupload preset. - Probes a sample asset to confirm real CDN delivery.
- Benchmarks bandwidth savings using modern browser headers (
Accept: image/avif,image/webp,*/*). - Generates a local preview file at
docs/cloudinary-getting-started-preview.html.
Open that HTML document in any browser to inspect the side-by-side comparison:
| Metric | Original Asset | Cloudinary Optimized | Improvement |
|---|---|---|---|
| Format | Standard JPEG | Modern WebP / AVIF | Automatically adapted by browser |
| Payload Size | 120.3 KB | 99.9 KB | 17% to 60% bandwidth reduction |
| Delivery Status | - | HTTP 200 OK | Fetch-probe verified over network |
Practical Usage: Prompts for Everyday Development
Once setup is complete and you reply Done, your AI coding assistant is equipped with the skills and MCP tools to handle media effortlessly. Here are copy-paste prompts ready to command your agent:
1. Render Optimized Images in Your App
Using the Cloudinary configuration in src/lib/cloudinary.ts, create a getOptimizedImage(publicId) helper that scales images to 800px width with f_auto and q_auto, and integrate it into our post template.2. Generate Dynamic OpenGraph Social Share Banners
Create a helper function in src/lib/og-image.ts that produces a 1200x630 OpenGraph image using 'brand/og-template' as the background, dynamically overlaying the blog post title in bold white Arial text with a soft shadow effect.3. Add an Image Upload Widget
Add the Cloudinary Upload Widget to our dashboard using the pre-configured 'ai_powerstart' upload preset. Ensure only CLOUDINARY_CLOUD_NAME is referenced client-side, with zero secrets exposed in the browser bundle.4. Delete or Manage Assets Programmatically
Write a server endpoint to destroy an uploaded asset by its public_id using the cloudinary.uploader.destroy method from our SDK.Vital Security Guardrails
When working with autonomous AI agents, always uphold these security principles:
- Never expose
API_SECRET: Secrets belong exclusively in server runtimes or private scripts. Never import them into browser-facing client components. - Never allow agents to print
.env: A core safeguard of AI Power Start is that the assistant validates file existence without dumping contents (cat .envorecho $CLOUDINARY_API_SECRET), keeping secrets out of LLM telemetry logs. - Reload your IDE for MCP: After installation, reload your editor (e.g., Reload Window in VS Code or Cursor) so your editor’s MCP client boots the new servers with the fresh environment variables.
Summary
Cloudinary AI Power Start transforms how developers integrate cloud media services. Instead of spending hours reading documentation, debugging transformation parameter sequences, or configuring environments, a single prompt enables your AI assistant to deliver a production-grade media pipeline in minutes.
Open Cursor, Claude Code, or Antigravity today, paste the prompt, and empower your AI agent with real-time media superpowers!
References
- Cloudinary Documentation: AI Power Start — One Prompt to Get Started (https://cloudinary.com/documentation/ai_powerstart)
- Cloudinary LLM & Model Context Protocol (MCP) Guide (https://cloudinary.com/documentation/cloudinary_llm_mcp)
- Claimable Cloud Provisioning Documentation (https://cloudinary.com/documentation/claimable_cloud_provisioning)
Comments (0)